


The Art and Science of Cyanotype
A Closer Look at My Process

Cyanotype printing is this perfect fusion of science and creativity—equal parts precision and unpredictability.
Translating a photograph into a cyanotype is a fascinating challenge. The process strips an image down to its rawest elements: deep blues and crisp whites, shadow and illumination. It forces me to think differently about contrast, texture, and composition, and I love fine-tuning every step to bring out the richness and depth in each piece. I love how every little decision—capturing the photo, preparing the paper, exposing the print—shapes the final image. And those rich, signature blues? Absolutely worth the patience.
Here’s a peek into how it all comes together.
Mixing the Chemistry
It all starts with a traditional cyanotype solution, a mix of ferric ammonium citrate and potassium ferricyanide. This is the magic potion that reacts to UV light and transforms into those signature Prussian blue tones.
Coating the Paper
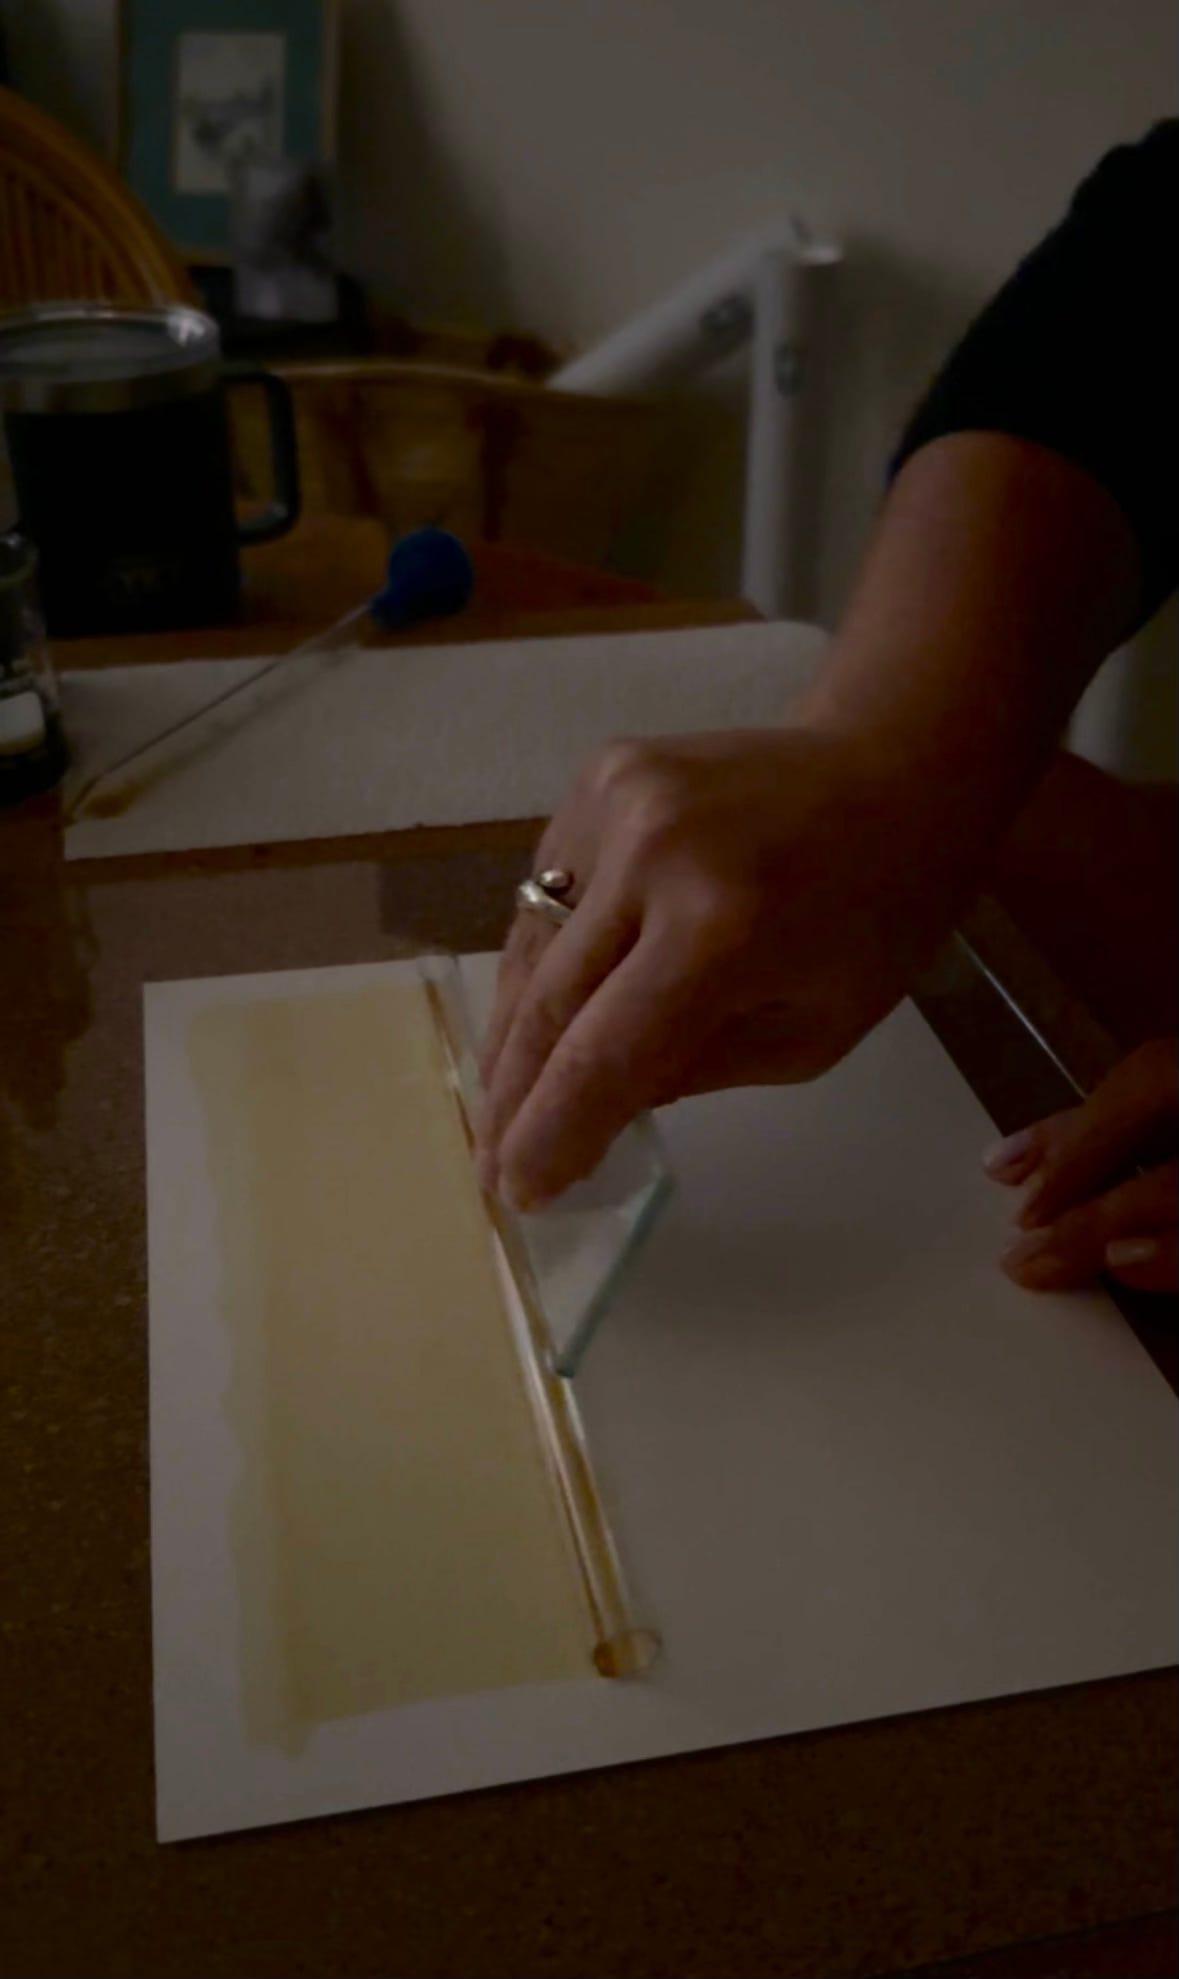
For my prints, I use fine watercolor paper because it holds detail beautifully. But instead of a brush, I use a glass rod to apply the solution. This keeps the coating silky smooth and free of brushstrokes, but what I love most is the way the rod creates a subtle, organic border around the image. It’s a small, imperfect detail that reminds you this was made by hand. That’s what makes it special.
Drying and Prepping the Print
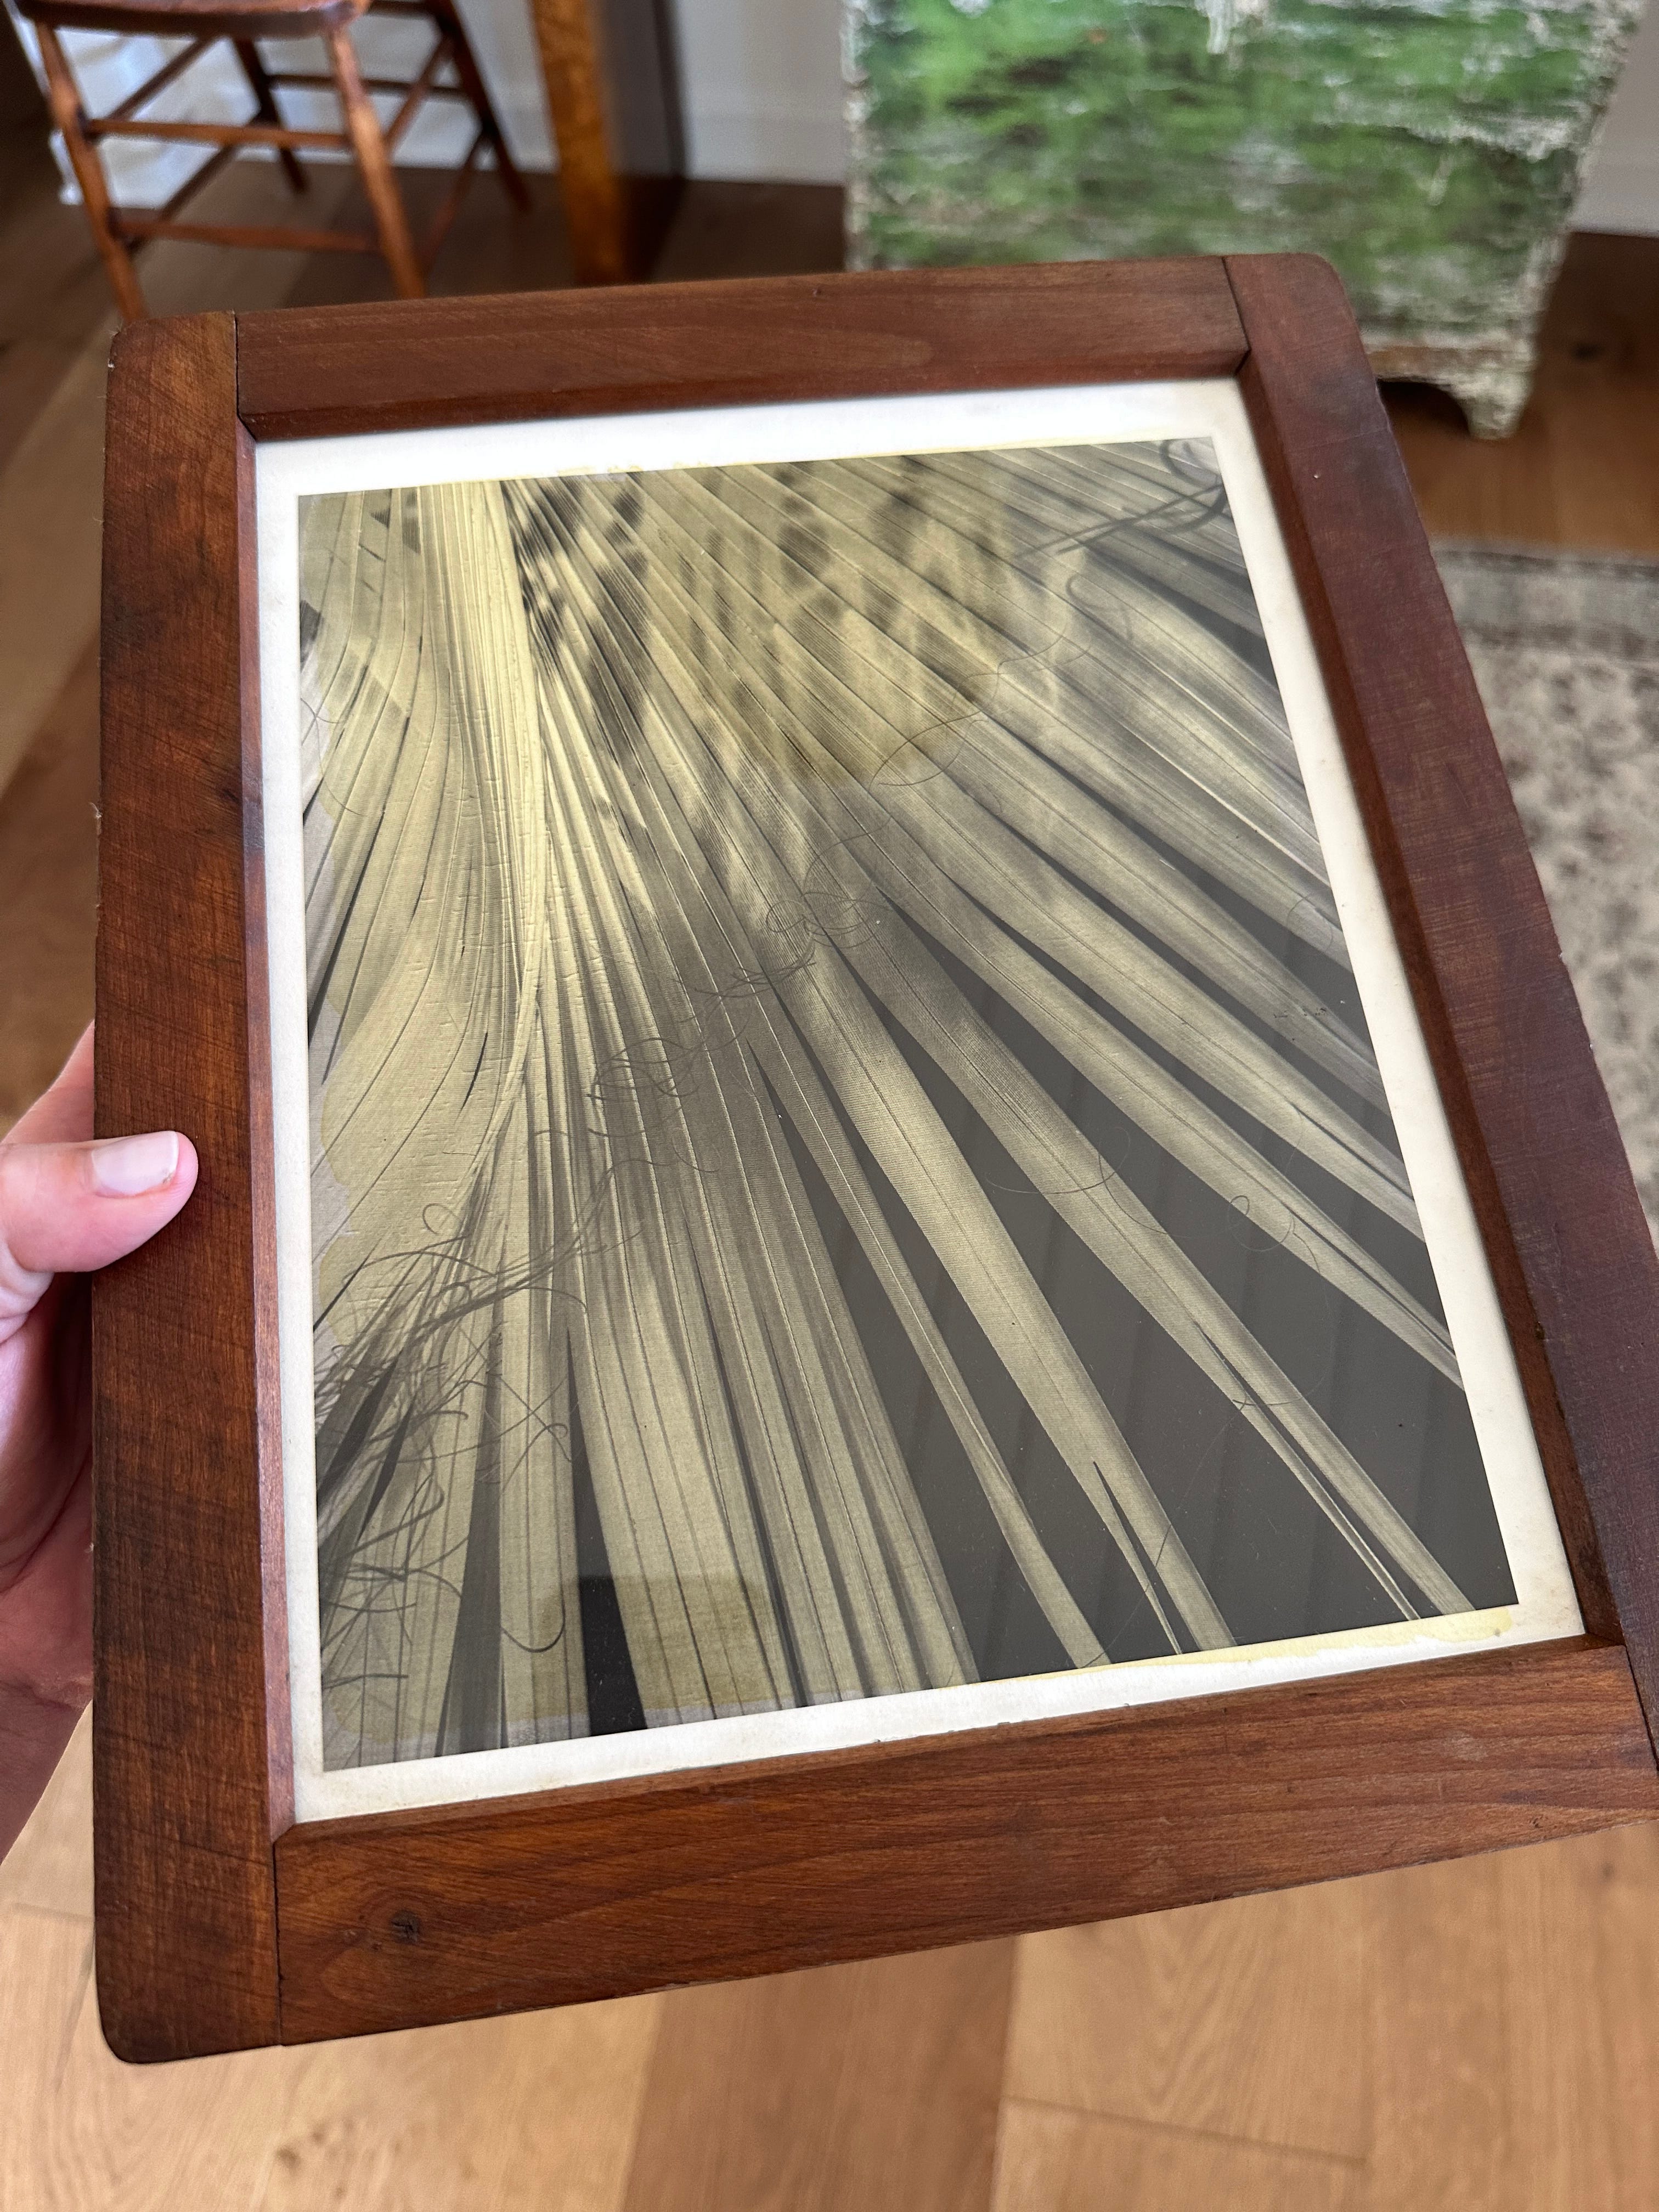
Once the paper is coated, it dries completely in the dark so it doesn’t get exposed too soon. Then, I press the dried, coated paper together with a negative of my photo in a spring-back developing frame. This keeps everything tight and ensures the image exposes with crisp detail.
Exposing to Sunlight
This is where the magic begins. I place the frame in direct sunlight and let nature take over. Slowly, the coated areas shift into a silvery tone—a sign the exposure is just right. It happens remarkably fast and the slightest change in exposure time or sun intensity can change the final print noticeably.
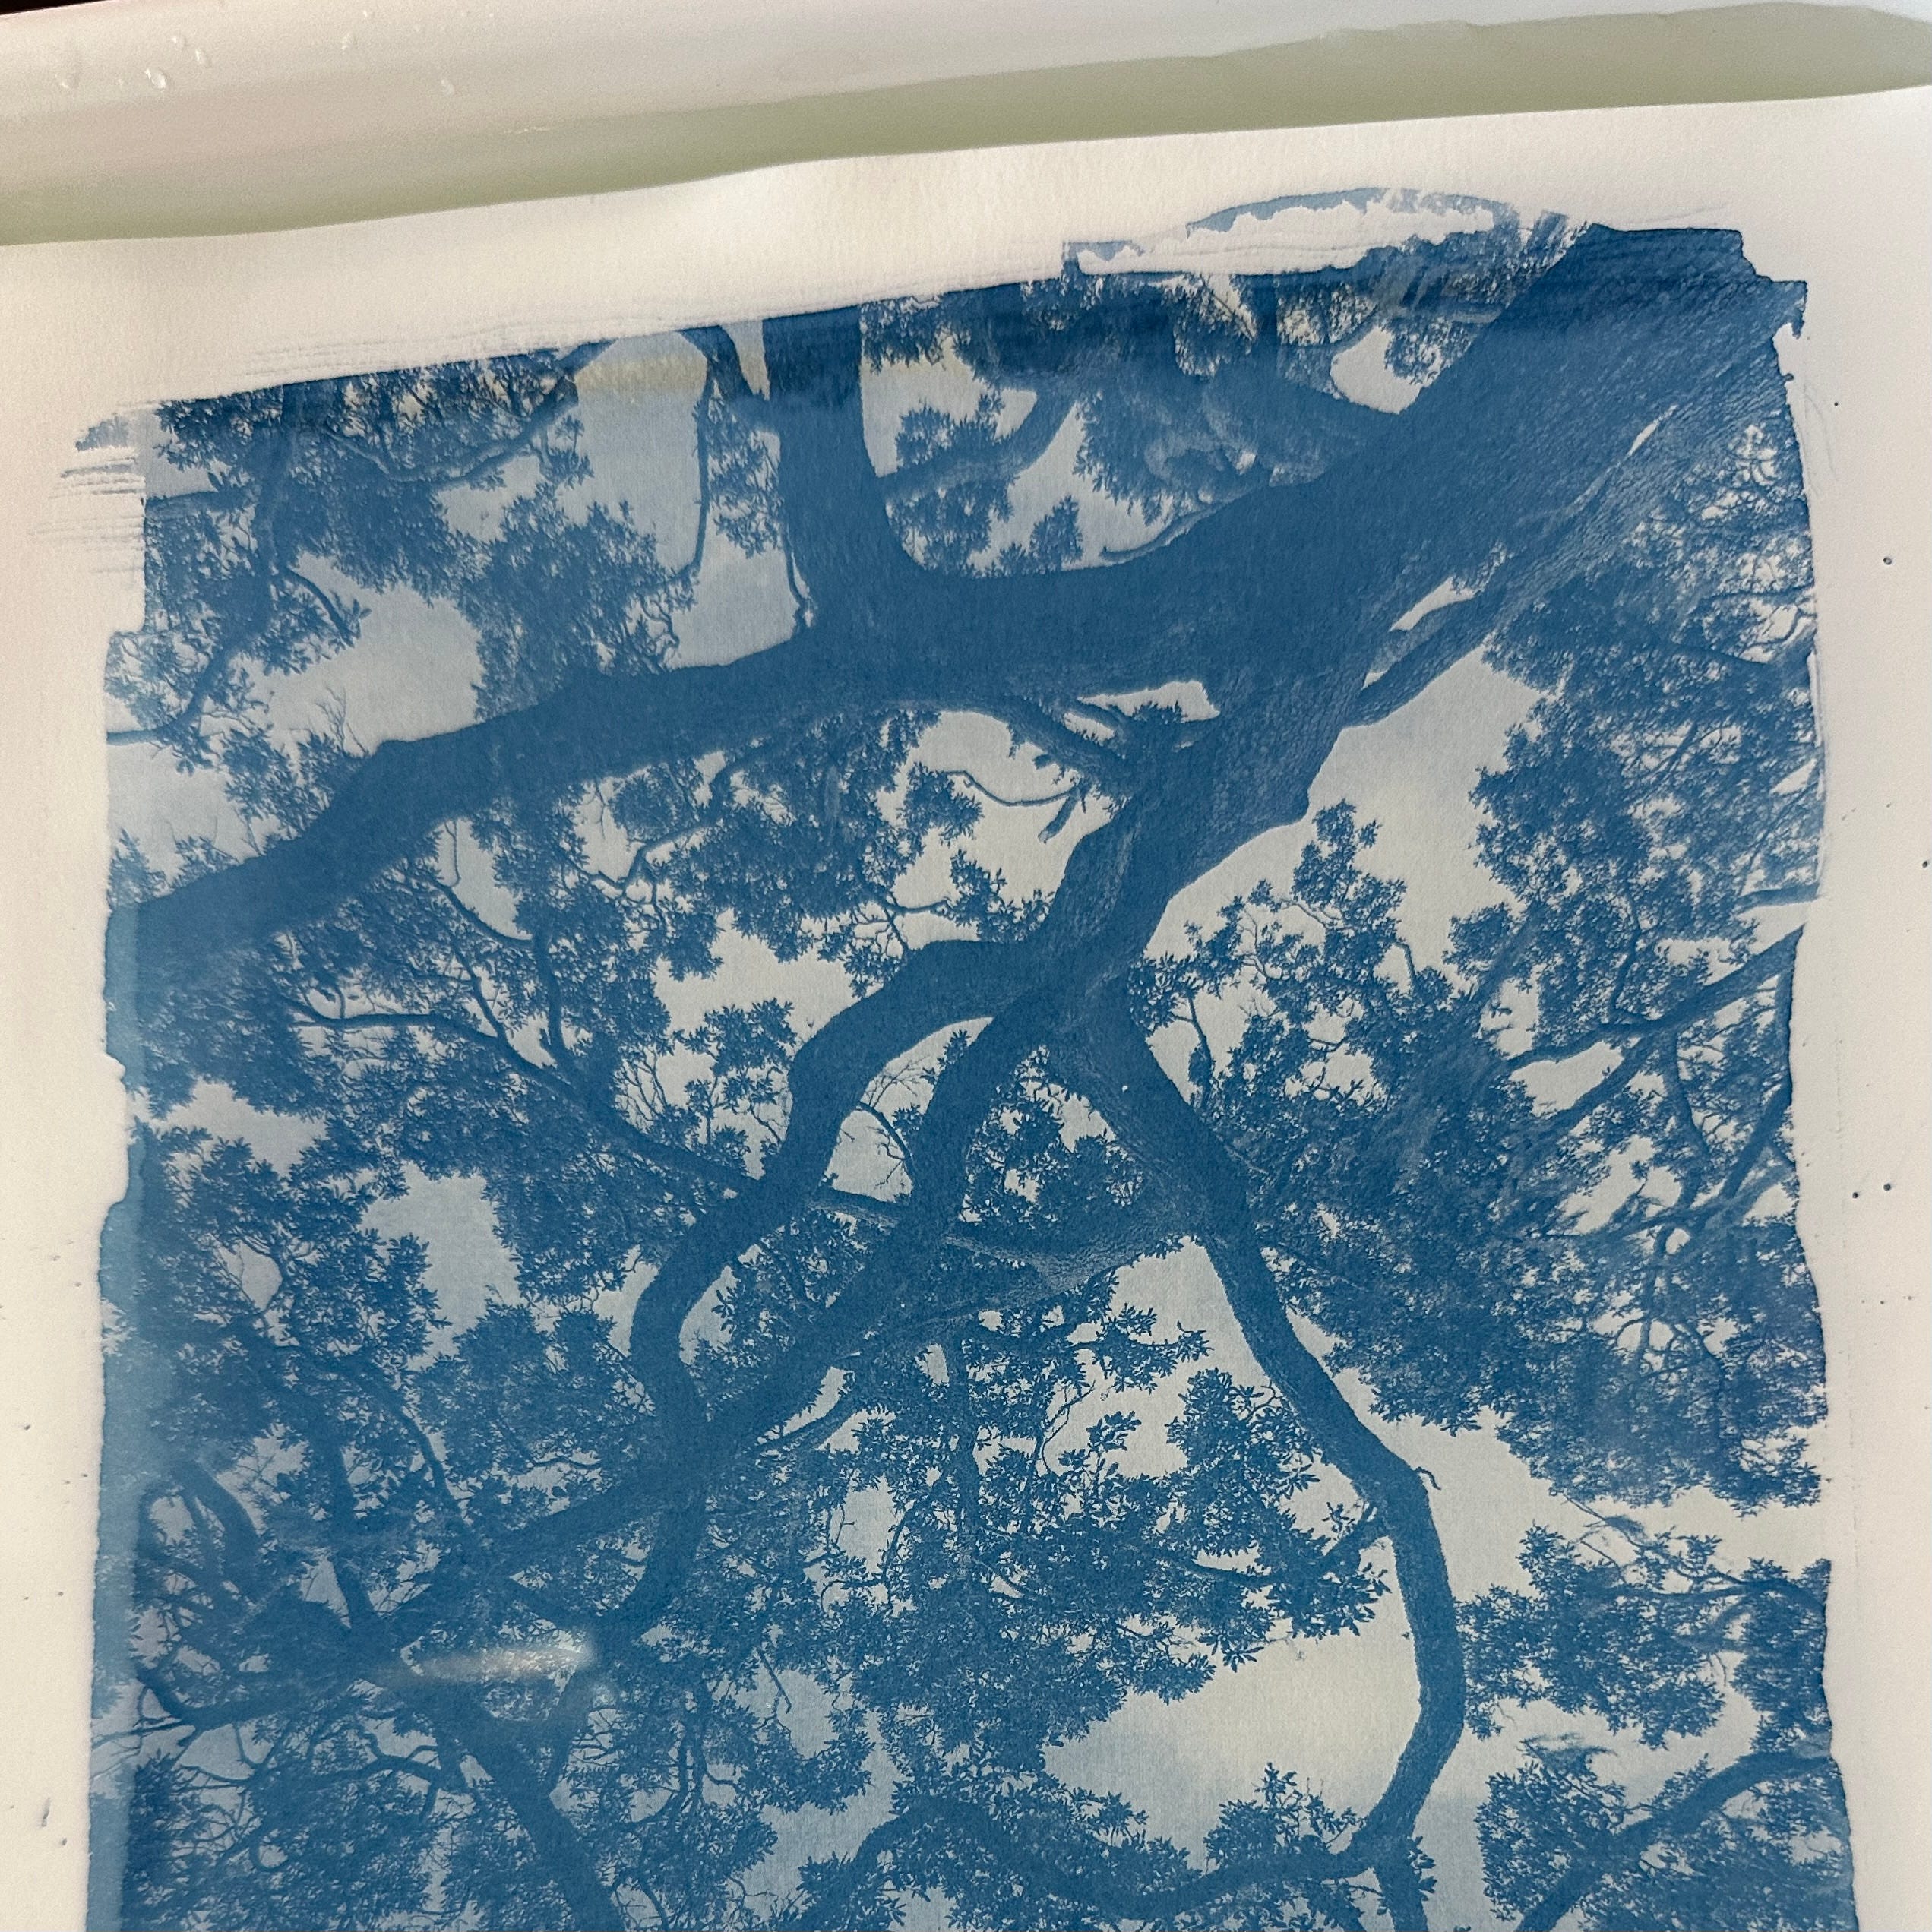
Rinsing and Watching the Blues Appear
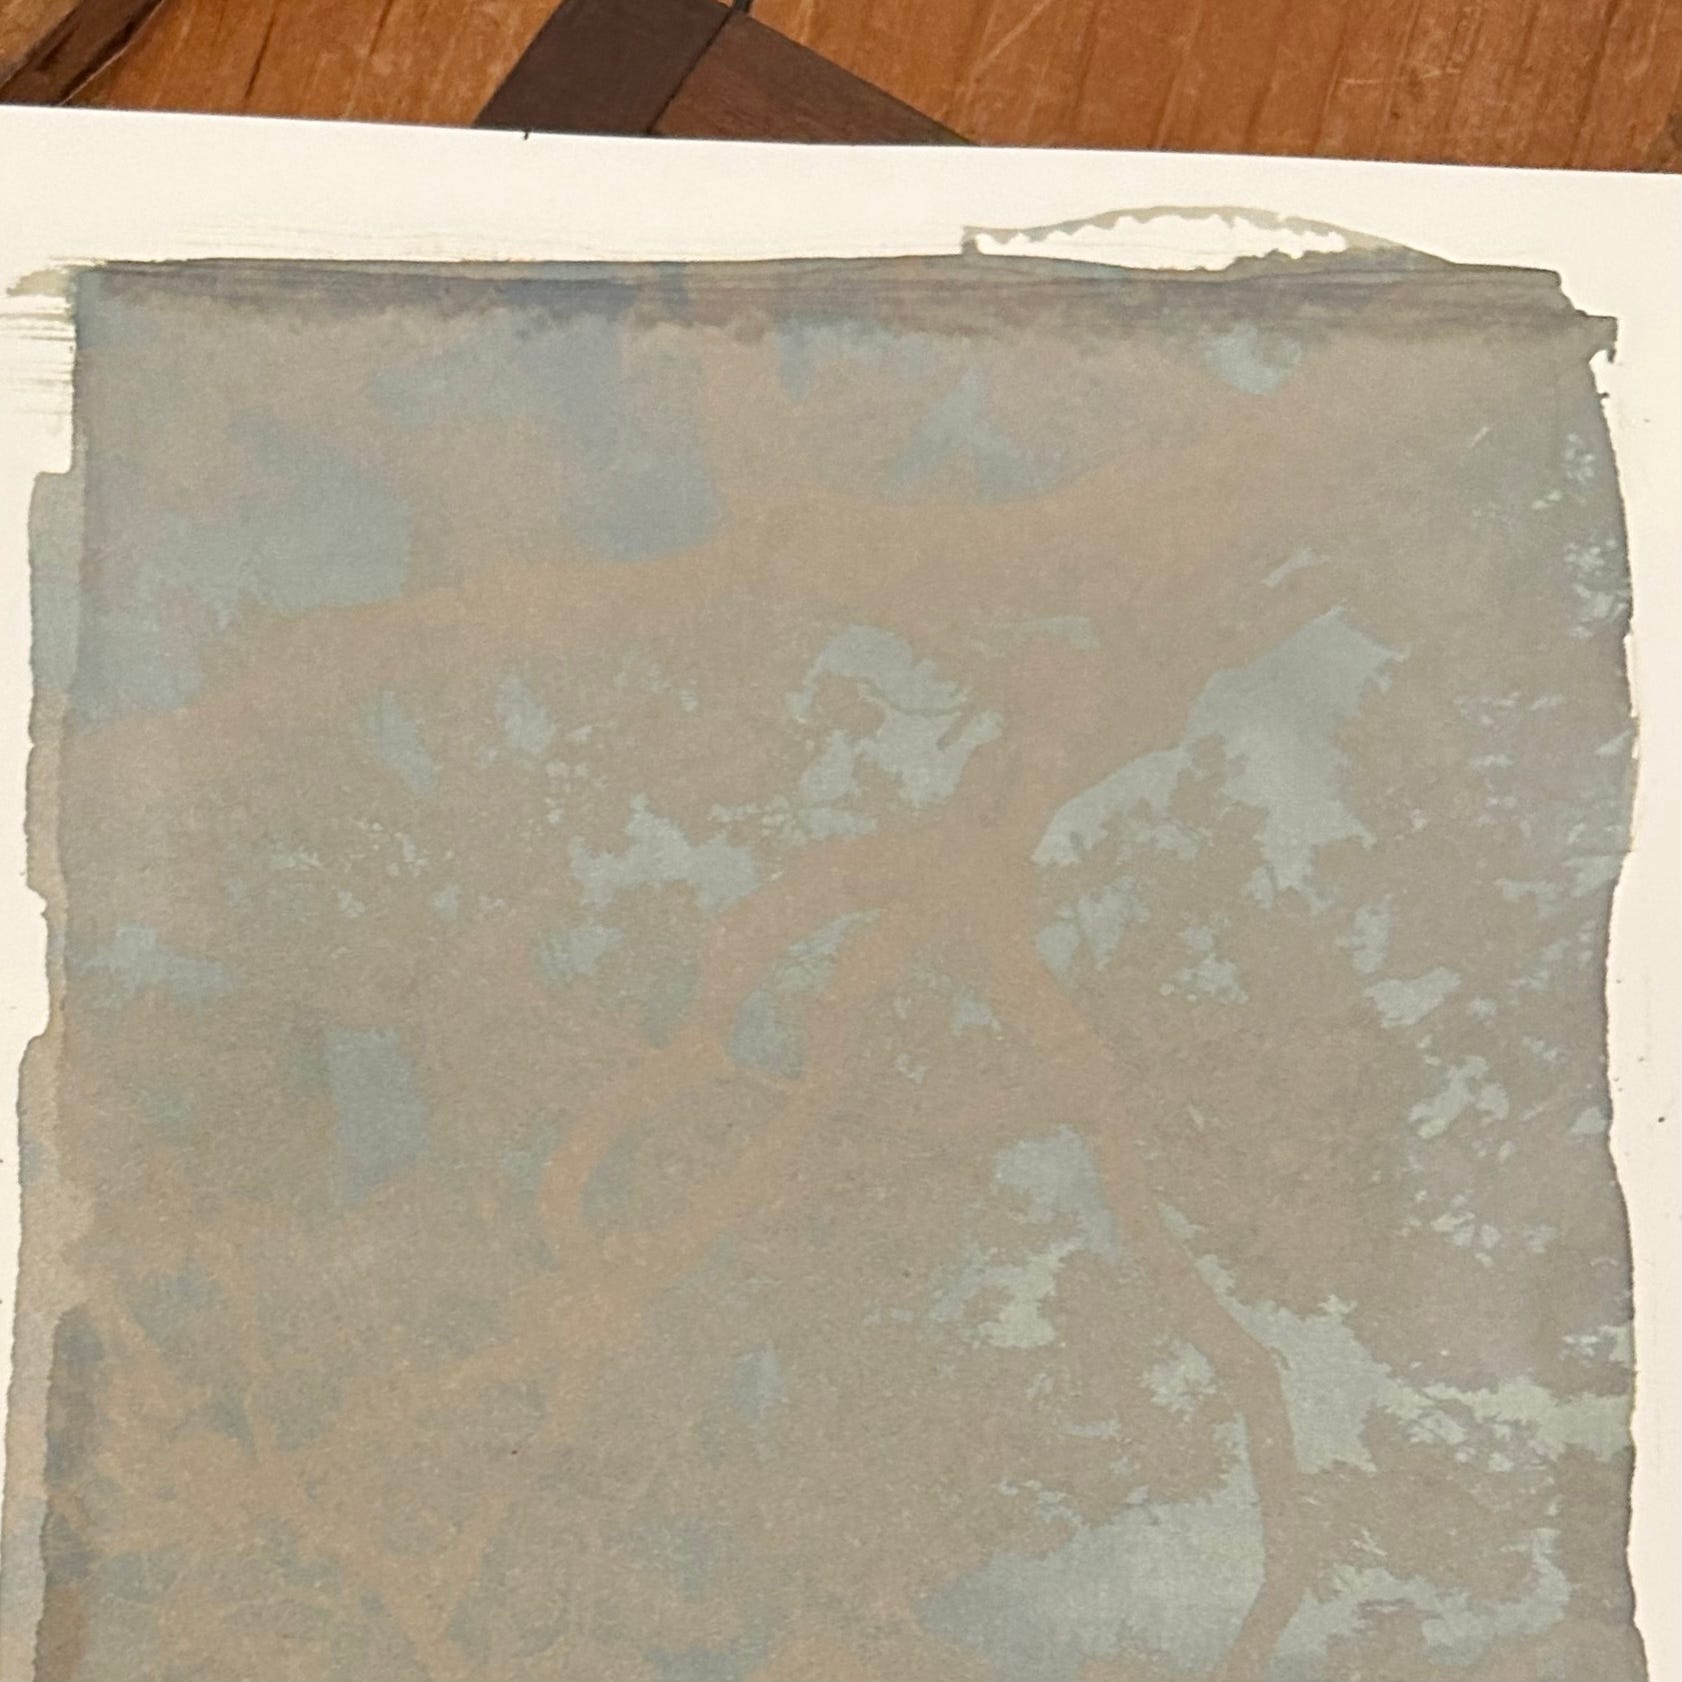
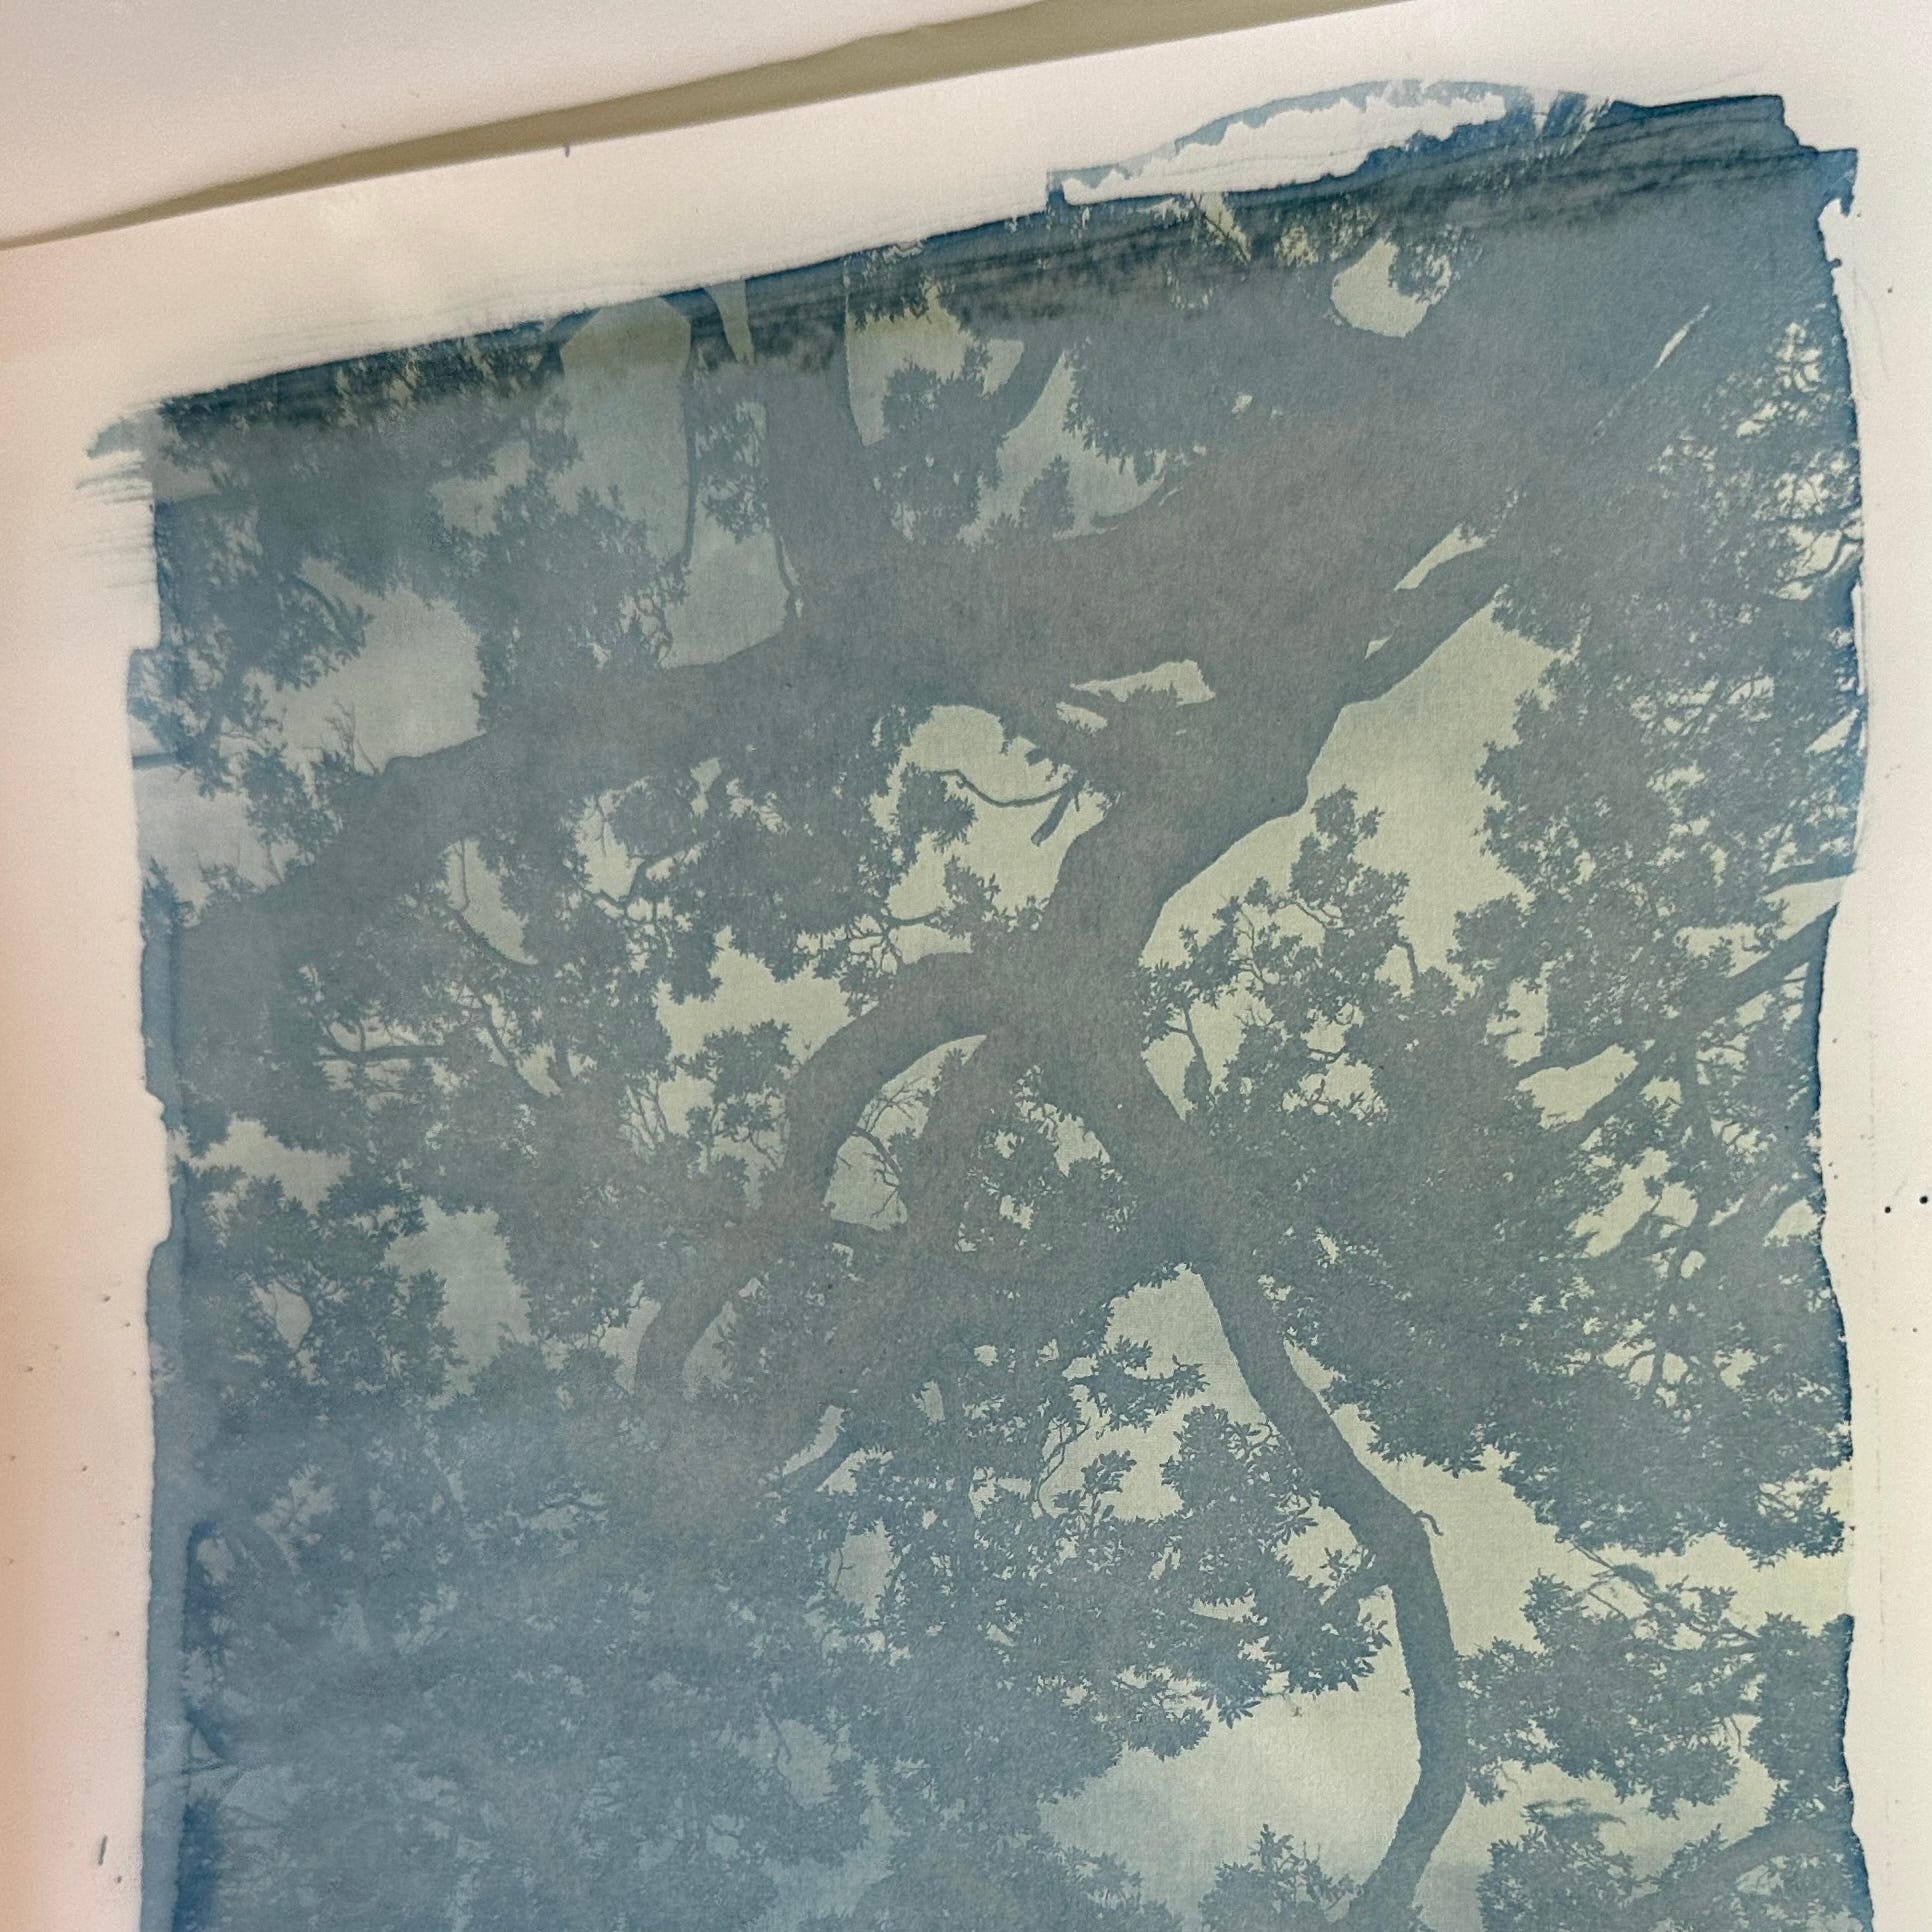
After exposure, I immediately put the print in a water bath to stop the exposure. Soak, agitate, rinse, repeat…more magic! The deep blues emerge quickly as the print soaks, deepen slowly as it dries, revealing a piece of art made by the sun. Rich, moody, and full of life.
The Final Touch: The Heat Press
Once dry, the print goes into a heat press. This step smooths out the paper, restoring its crispness and giving the image an even richer contrast. It’s the perfect finishing touch—like ironing a crisp shirt before a big event.
Every cyanotype I create is a mix of intention and surprise, shaped by light, chemistry, experimentation, and patience. It’s an art form that bridges past and present, blending history with craftsmanship to create something completely unique. And that’s exactly why I love it.
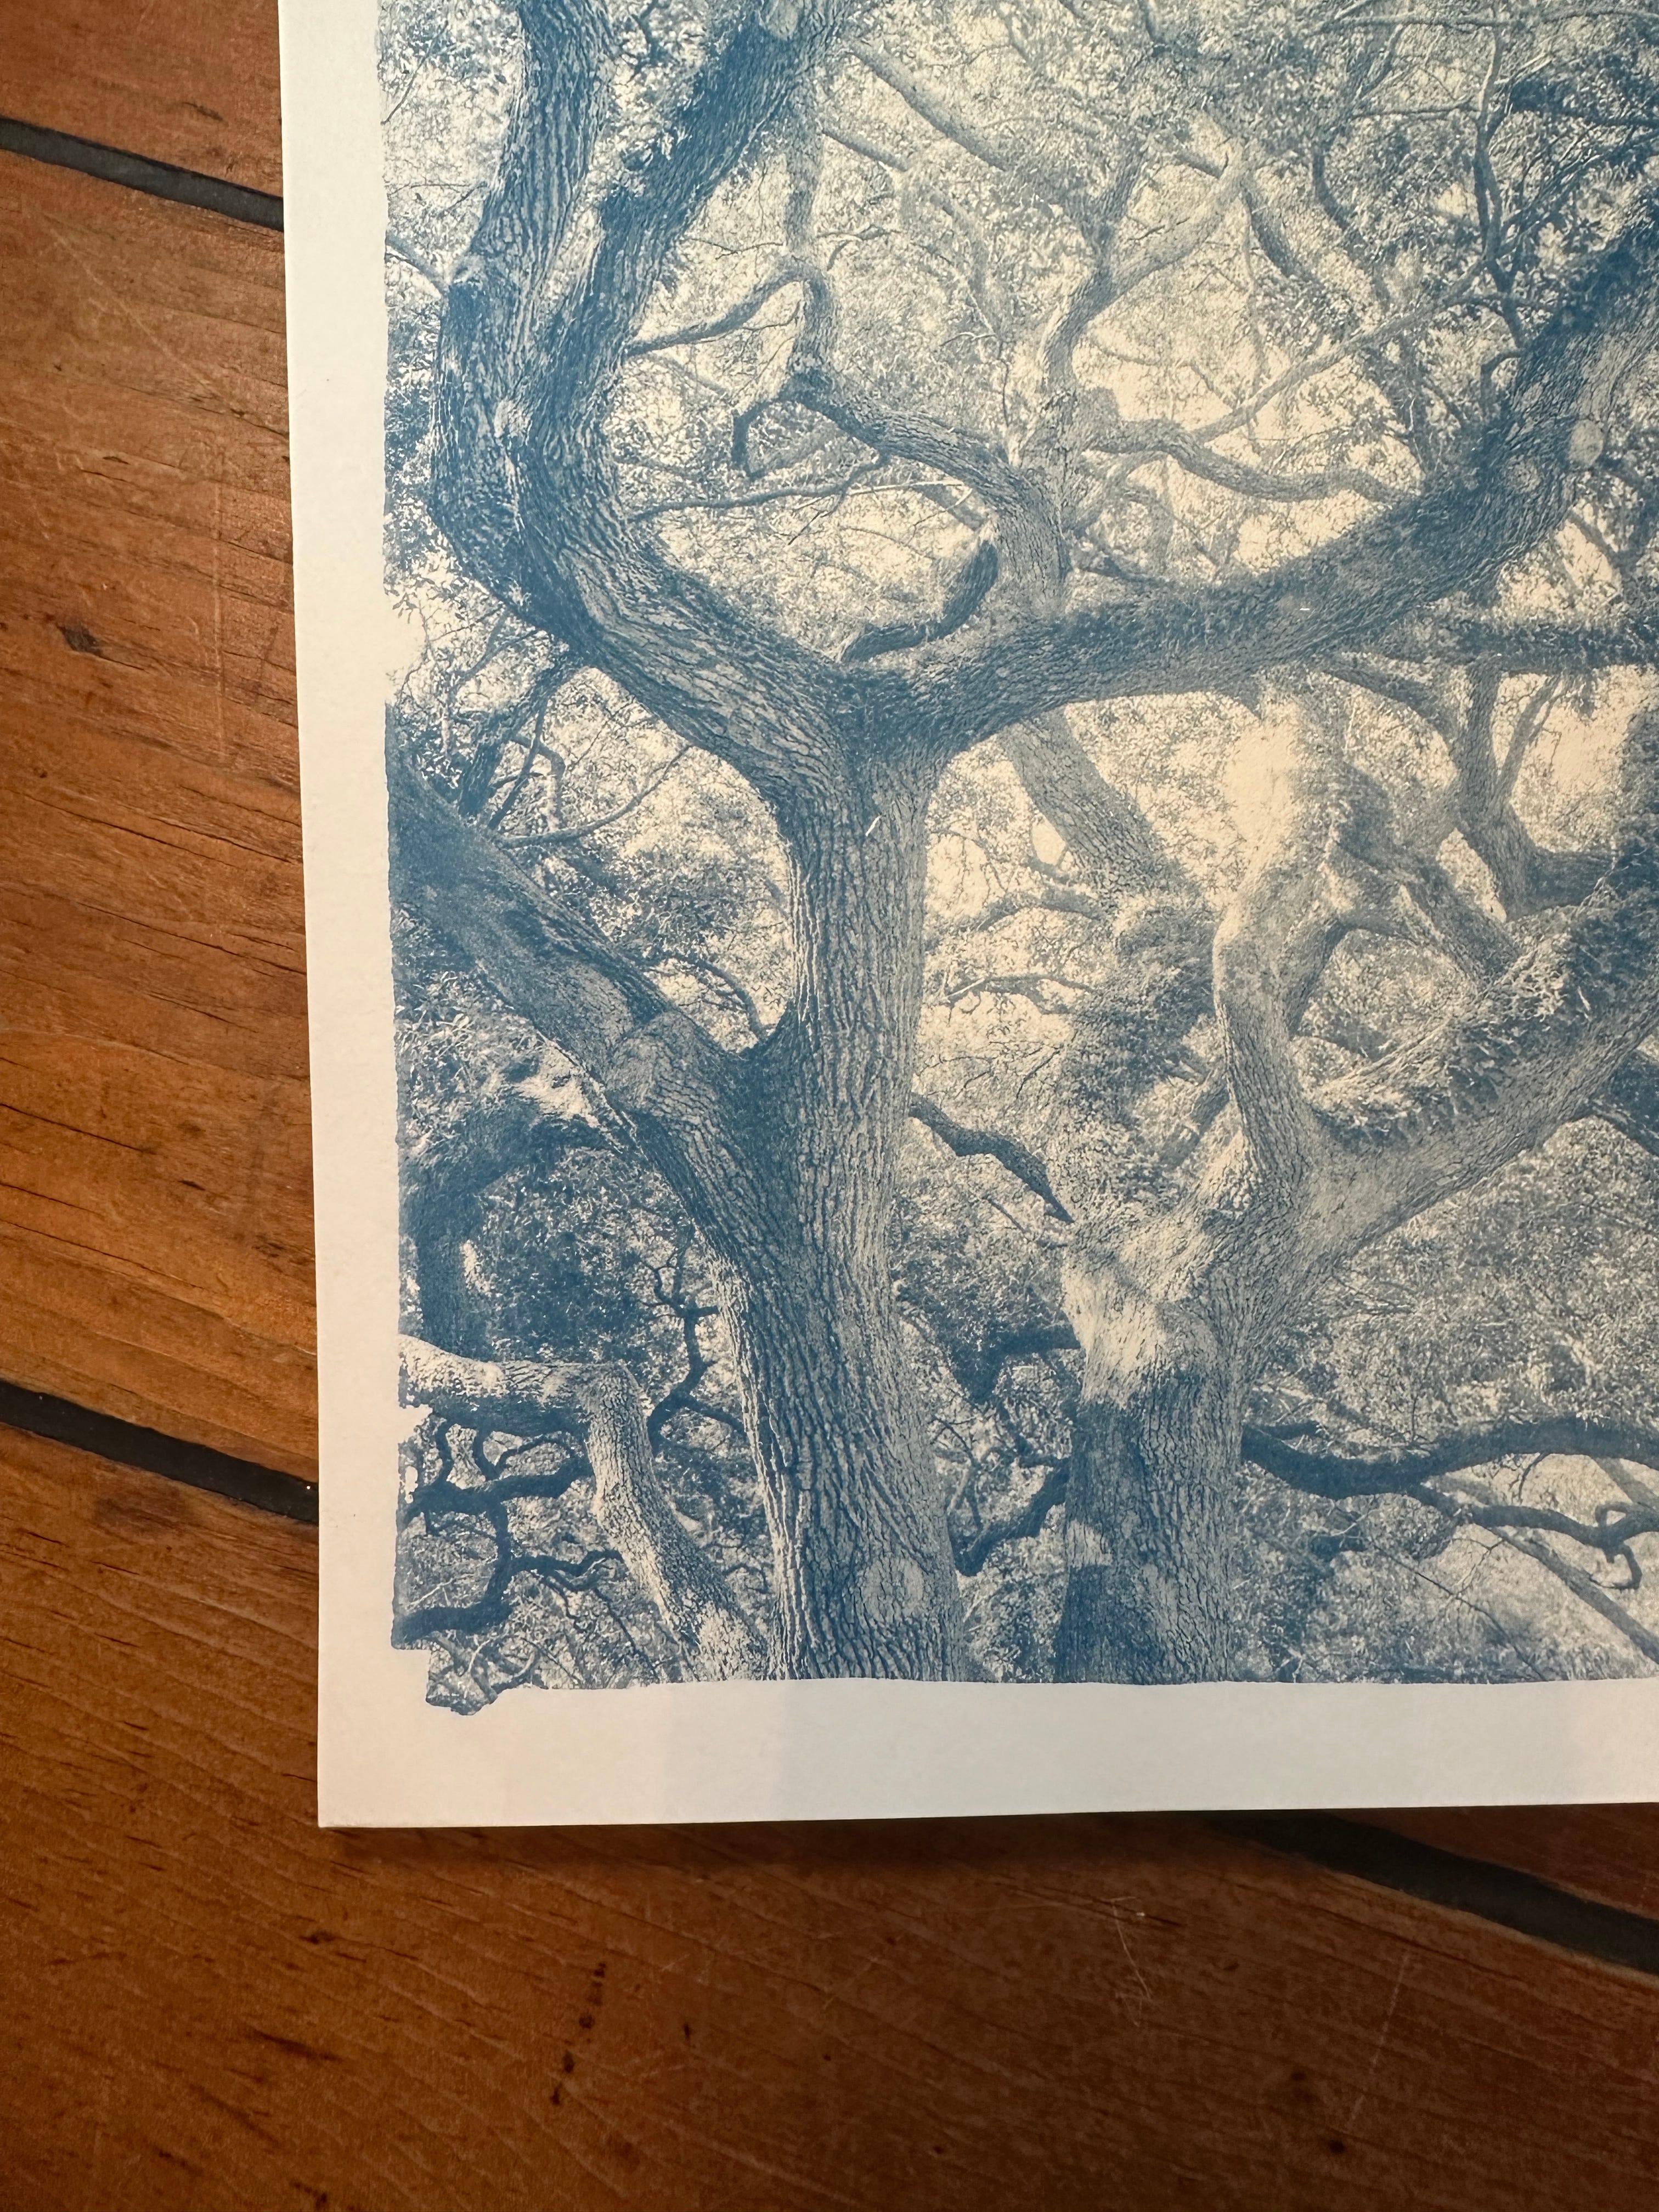
These images are all of test prints as I am preparing my new collection. Keep an eye out for that release. I expect the hand prints to sell out quickly!
Do you have other questions about cyanotypes? Leave a comment!
Thanks for being here! I’d love your help sharing my work!
If you enjoyed this post, tap the ❤️ button so more people can find it. Subscribe to continue reading Highlightings, and even better—share it with friends who may be interested! (You earn rewards for every referral!)
For more, follow me on Instagram or visit www.pjmphoto.com.